Home/ Blog

How to Use Fuel Injector Puller to Remove a Stuck Injector

Oct 13, 2025
How to Use Fuel Injector Puller to Remove a Stuck Injector
 
A seized fuel injector (carbon build-up, corrosion, or degraded seals) can often be removed safely with a dedicated injector puller. FUERD’s Fuel Injector Puller kits enable controlled axial extraction that minimizes bore damage. This guide walks you through tools, prep, step-by-step removal, inspection, troubleshooting, and pro tips.
 

Tools & Supplies

  • FUERD Fuel Injector Puller kit (slide-hammer or hydraulic) + vehicle adapters.
  • Injector-seat adapters / soft jaws (for plastic injector tops).
  • Penetrating oil (low residue), shop rags, drip tray, absorbent pads.
  • Torque wrench, ratchets, sockets, small pry bars.
  • Heat gun (use sparingly), compressed air / brake cleaner (follow local rules).
  • Replacement O-rings/seals (OEM or FUERD equivalents).
 

Safety (must-read)

  • Disconnect battery negative terminal before any work.
  • Relieve fuel rail pressure per the OEM service manual before disconnecting lines. Never loosen fuel fittings under pressure.
  • Work in a well-ventilated area; keep ignition sources away. Have a Class B/C fire extinguisher nearby.
  • If you encounter unusual resistance or fragments, stop and reassess — continued force may damage the cylinder head.
 

Preparation

  • Park on level ground; engage parking brake.
  • Remove engine covers and intake components to gain clear access to the injector top and retaining clip. Label connectors for reassembly.
  • Place a drip tray and absorbent pads under the injector area.
  • Clean around the injector bore with brush/compressed air. Minimize debris that could fall into the bore.
  • Apply penetrating oil around the injector body. For moderate seizure allow 10–30 minutes; for severe cases an overnight soak may be required. (If in doubt, soak longer rather than hammer more.)
 

Step-by-step extraction (general procedure)

Note: Always check the vehicle service manual for model-specific instructions (e.g., Mercedes M270, BMW N20/N55, Ford EcoBoost). Torque and access requirements vary.
  1. Depressurize fuel and disconnect injector electrical connector and any rail lines needed to free the injector top. Remove retaining clip(s).

  2. Select correct FUERD adapter that matches the injector top, flange, or threaded section. For plastic tops use soft or crush-resistant adapters.

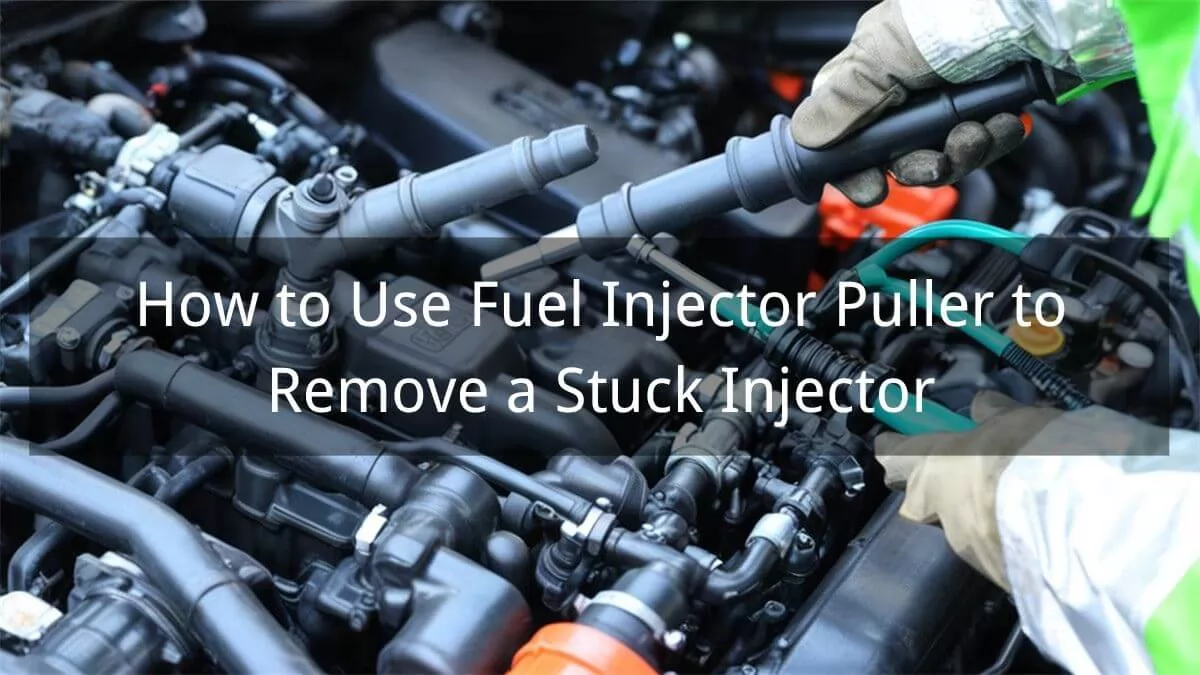
  3. Attach adapter and puller ensuring the puller is centered and aligned axially with the injector bore — misalignment increases risk of bore damage.

  4. Apply controlled axial force.

    With a slide-hammer: use short, controlled blows rather than long, violent swings.
    With hydraulic puller: increase pressure slowly and evenly.

  5. If the injector moves, continue until it is fully extracted. Re-apply penetrating oil if progress stalls.

  6. If the injector does not budge after careful, controlled attempts: stop. Consider heat around the injector head (avoid plastics and sensors) or consult a machine shop. Never use pry grips or chisels that apply uneven force.


Post-removal inspection & reinstallation

  1. Inspect injector and bore — look for carbon build-up, scoring, or corrosion. If there is visible damage or fragments, do not reinstall and consult a machine shop.

  2. Clean the bore with vacuum + compressed air. Do not push debris into cylinders.

  3. Replace O-rings and seals (always new). Lightly lubricate O-rings with clean engine oil for installation.

  4. Reinstall injector straight and to OEM torque (typical injector clamp torque range is 15–25 Nm, but verify with the vehicle manual).

  5. Reconnect lines, re-pressurize fuel system, and check for leaks before starting engine. Clear fault codes if needed. Monitor for idle and leak issues.


Pro tips (shop efficiency)

  • Pre-soak overnight for high-mileage or diesel heads with heavy carbon.

  • Keep soft jaws and non-marring adapters on hand for fragile plastic injector tops.

  • Photograph connectors/steps during disassembly for faster reassembly.

  • For fleets: maintain O-ring service kits and adapter sets to reduce downtime.


When to stop & seek specialist help

  • Injector fractures inside the bore.

  • After repeated controlled attempts with no movement.

  • Visible bore scoring or metal fragments. At that point, further in-house attempts risk expensive head damage - call a machine shop or FUERD technical support.


FAQ (short)

Q: Can I use vise grips?

A: No — they apply uneven force and risk breaking the injector or scoring the bore. Use a dedicated puller.

Q: Will a slide-hammer damage the head?

A: Used correctly and axially, no. Excessive or angled force can cause damage; hydraulic pullers provide gentler, more controlled force.

Q: Should I replace seized injectors?

A: If the injector is functionally compromised (spray pattern, electrical), replace it. If physically intact, replace seals and bench-test.


About FUERD

FUERD has designed injector puller adapters and timing tools for OEMs and workshops since 1987. For tool support, custom adapter requests, or technical help, contact us. Always confirm tool specs and vehicle torque values with the product datasheet and OEM service manual.


0
Comments
Leave a Comment
Your email address will not be published. Required fields are marked *
Name can't be empty
Email error!
Message can't be empty
😍
😜
😳
😌
😄
😘
😝
😒
😃
😚
😚
😛
😟
😧
😀
😉
😓
😱
😤
😣
😂
😥
😩
😠
😢
😭
😰
😨
😡
😆
😪
😅
😐
😇
😋
😴
👿
😕
😏
😷
😵
😟
😮
😯
😑
👧
👴
😧
😬
😾
👶
👱
👵
👸
🙀
👺
👦
👩
👨
😽
😿
🙈
💩
💥
💤
😼
😹
🙉
🔥
💦
👎
👆
👈
💪
💹
👍
👊
💴
💶
💷
💸
👉
💵
🙏
🌎
🏧
👏
💳
👇
💑
🙆
🙅
💁
👫
👭
🙎
🙇
👑
👔
Submit Comment
Set A Consultation Today
Name can't be empty
Email error!
Send Your Message
*We respect your confidentiality and all information are protected.
You Might Also Like...
Since 1987, Fuerd delivers high-precision automotive tools backed by innovation, certified quality, and 24/7 support across 50+ markets.
Looking for High-Precision Automotive Tools? Let's Talk!
Contact Us Now
Copyright © 2025 Ningbo Fuerd Machinery CO.,LTD
Powered by Globalsir
Contact Us Now
Name can't be empty
Email error!
Message can't be empty
Send Message